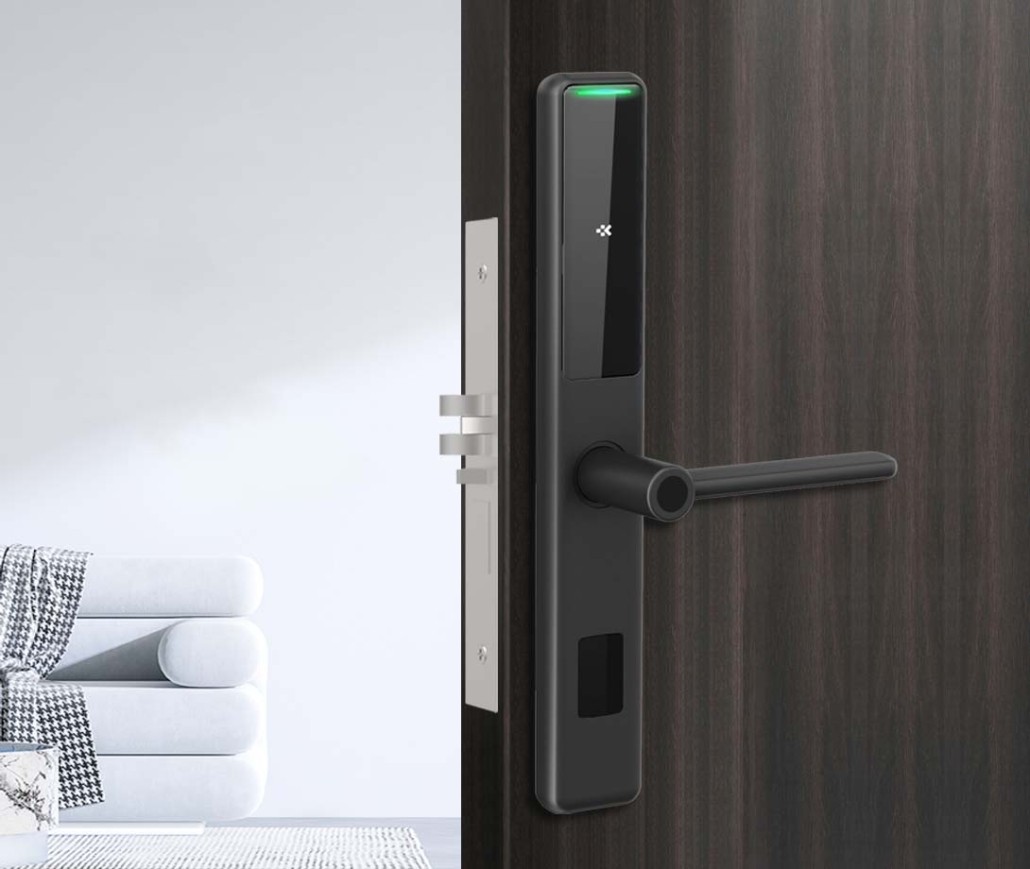
How to Install a Smart Fingerprint Door Lock: The Complete Step-by-Step Guide
Installing a smart fingerprint door lock combines enhanced security with keyless convenience. This 1,000-word guide walks you through the entire installation process with clear instructions, professional tips, and safety considerations – perfect for DIY homeowners and tech enthusiasts.
Pre-Installation Preparation
1. Tools You’ll Need
Gather these essentials before starting:
- Phillips head screwdriver
- Measuring tape
- Drill with wood/metal bits (check your door material)
- Chisel (for mortise locks)
- Pencil for marking
- Smartphone with manufacturer’s app installed
- Replacement batteries (usually AA or lithium)
2. Compatibility Check
Verify your door meets these requirements:
Door thickness: 1⅜” to 2¼” (35mm to 55mm)
Backset measurement: 2⅜” or 2¾” (60mm or 70mm)
Door swing direction (left/right, in/out)
Existing hole alignment (compare with new lock’s template)
Pro Tip: Most manufacturers provide paper templates – test fit before drilling.
Step-by-Step Installation Guide
Step 1: Remove Existing Lock
- Unscrew interior trim plate
- Remove through-bolts or long screws
- Extract both interior and exterior assemblies
- Fill old screw holes with wood filler if needed
Step 2: Prepare the Door
- Hold the provided template against your door edge
- Mark new hole locations with pencil
- Drill pilot holes for:
- Latch mechanism (edge of door)
- Exterior keypad/fingerprint reader
- Interior mounting plate
Safety Note: Wear goggles when drilling metal doors.
Step 3: Install the Latch Mechanism
- Insert the latch into the door edge
- Secure with provided screws
- Verify smooth operation by testing with the included tool
Step 4: Mount the Exterior Unit
- Feed connecting wires/cables through the door
- Align fingerprint reader with prepared holes
- Secure with long mounting bolts (don’t fully tighten yet)
Step 5: Connect Interior Components
- Attach wiring harness (if applicable)
- Mount interior base plate
- Insert batteries (observe correct polarity)
Step 6: Final Assembly
- Align both units perfectly
- Tighten all mounting screws securely
- Install decorative trim plates
- Test door movement for clearance issues
Initial Setup & Programming
1. Fingerprint Enrollment
- Press the programming button (often inside battery cover)
- Follow voice prompts/LED indicators
- Scan each fingerprint 3-4 times from different angles
- Assign user IDs (e.g., “Admin,” “Guest 1″)
Best Practice: Register multiple fingerprints per user in case of minor injuries.
2. Mobile App Configuration
- Download manufacturer’s app
- Enable Bluetooth/NFC pairing
- Create admin credentials
- Set up auto-lock timers and access schedules
3. Backup Access Methods
Configure alternative entry options:
- PIN code (choose 6+ random digits)
- Mechanical key (store offsite)
- RFID cards (for household staff)
- Emergency power options (9V battery terminal)
Professional Installation Tips
Door Preparation Tricks
- Use masking tape to prevent wood splintering
- Gradually increase drill bit sizes for cleaner holes
- Apply lubricant to latch mechanism annually
Troubleshooting Common Issues
Problem: Fingerprint sensor not responding
Solution: Clean sensor with microfiber cloth, re-enroll prints
Problem: Deadbolt misalignment
Solution: Adjust strike plate position, enlarge hole slightly
Problem: Wireless connectivity drops
Solution: Check battery level, reduce interference from metal objects
Security Enhancements
Physical Security
- Install reinforced strike plate with 3″ screws
- Add door armor kit for jamb reinforcement
- Use security cameras to monitor access attempts
Digital Security
- Change default admin codes immediately
- Enable tamper alarms in settings
- Regularly review access logs
- Update firmware quarterly
Maintenance Schedule
| Task | Frequency |
|---|---|
| Clean fingerprint sensor | Weekly |
| Check battery level | Monthly |
| Test mechanical override | Quarterly |
| Lubricate moving parts | Biannually |
| Full security audit | Annually |
When to Call a Professional
Consider hiring a locksmith if:
- Your door requires significant modification
- You encounter wiring complications
- The lock shows error codes after installation
- You need to maintain warranty coverage
Conclusion: Enjoy Keyless Convenience
Properly installed smart fingerprint locks provide superior security while eliminating key management hassles. By following this comprehensive guide, you’ve not only upgraded your home’s protection but also gained valuable DIY skills. Remember that regular maintenance and smart security practices will ensure years of reliable operation.
For optimal performance, pair your new fingerprint lock with other smart home security devices like video doorbells and motion sensors. Welcome to the future of keyless living!
Post time: May-23-2025


